
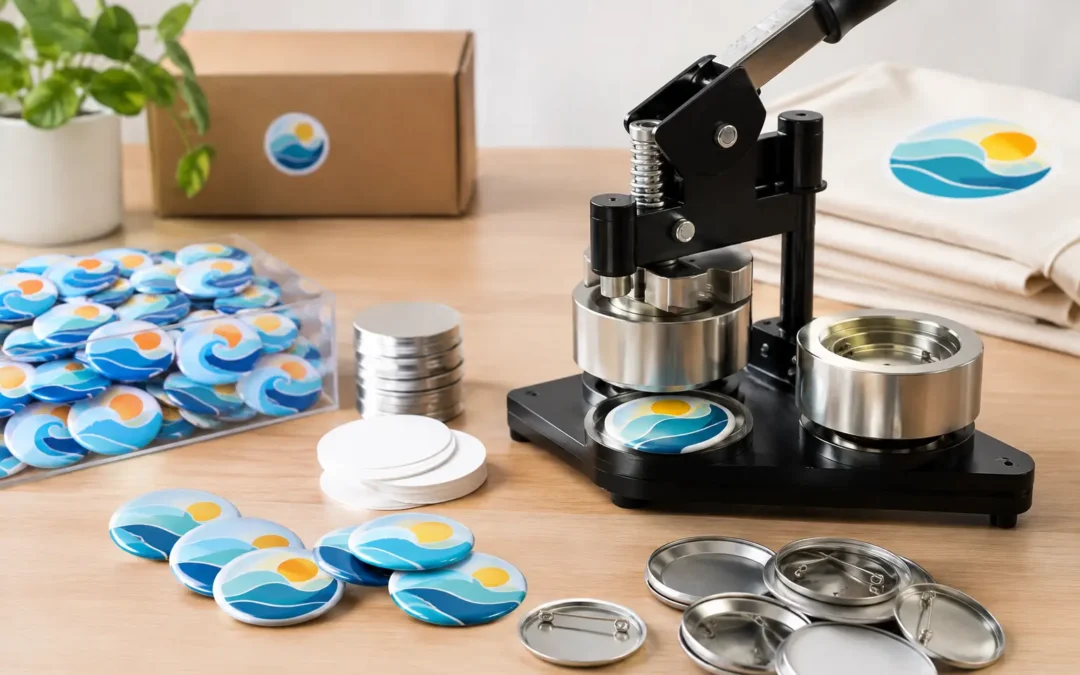
A badge press that jams halfway through an event order can quickly turn a low-cost promotional idea into an expensive delay. This button badge machine review focuses on what Australian business buyers need to assess before purchasing equipment for branded campaigns, venue activations, school programmes, clubs and high-volume event merchandise.
The right machine is not simply the one with the lowest upfront price. It needs to produce consistent badges, accept readily available components, suit the intended badge size and hold up to the number of impressions your team expects to make. For some organisations, owning a press makes commercial sense. For others, ordering finished branded badges remains the more efficient option.
What a Button Badge Machine Must Deliver
A button badge machine combines a metal shell, printed artwork, clear protective film and backing component into a finished badge. The basic process sounds simple, but quality depends on accurate alignment, even pressure and correctly matched dies and consumables.
For business use, the key measure is repeatability. One well-made sample is not enough when you need 500 badges for a conference registration desk or 2,000 promotional pieces for a product launch. The machine should produce a secure crimp around the full edge, with no loose film, distorted print or backing that separates under light pressure.
A reliable press also needs a practical workflow. Operators should be able to load components, position artwork and complete the press cycle without excessive force or repeated adjustments. If the machine will be used by casual event staff, a straightforward mechanism matters as much as raw production speed.
Button Badge Machine Review: The Main Press Types
Manual lever presses are the most common choice for occasional and moderate-volume production. They are generally compact, mechanically simple and suitable for workplaces that want to make badges as required. A good manual press gives the operator enough leverage to complete a clean crimp without straining, but production is still dependent on the person using it.
Rotary-style manual machines use a rotating die station. This can make the workflow faster because the shell and artwork can be assembled in one station, then rotated to add the backing in another. They are well suited to regular batches where the same badge size is being produced over and over. Their main limitation is that component loading still takes time, particularly when artwork is being trimmed by hand.
Pneumatic or electric presses are better suited to dedicated production environments. These machines reduce operator fatigue and can improve consistency across larger runs, especially when paired with prepared artwork and organised component trays. The trade-off is higher purchase cost, more bench space and, for pneumatic equipment, the need for an appropriate air supply.
For most marketing teams, clubs and smaller venues, a quality manual or rotary machine is sufficient if badge making is occasional. A business producing event merchandise every week may recover the cost of an automated option through faster throughput and lower rework.
Die Sizes and Component Compatibility
The die set determines the badge diameter your machine can produce. Common formats include 25 mm, 32 mm, 38 mm, 44 mm and 58 mm, although exact availability varies by supplier. Smaller badges suit staff recognition, name tags and simple promotional messages. Larger formats provide more space for logos, campaign artwork and readable event information.
Do not assume that badge components are interchangeable between machines. Shells, backs, clear film and cutting templates can differ slightly in depth and diameter, even where the stated badge size appears identical. A press that works with one supplier’s 58 mm components may deliver poor results with another supplier’s stock.
Before purchasing, confirm the ongoing supply of compatible consumables. This is particularly important for organisations that expect repeat orders or seasonal campaigns. A low-cost press becomes a poor investment if matching shells or pin backs are difficult to source six months later.
It is also worth checking whether the machine supports alternative backings. Pin backs are standard for promotional badges, but magnet backs, keyrings, bottle openers and fridge magnets may suit particular campaigns. These options can add value, although each usually requires a dedicated component and sometimes a different die configuration.
Artwork Preparation Affects the Finished Badge
Most badge issues begin before the press cycle. Artwork needs adequate bleed beyond the visible face so the image can wrap cleanly around the edge. Fine type close to the outer rim can become difficult to read, while pale edges may show minor alignment variations more clearly.
For bulk event work, print sheets should be cut accurately and consistently. Hand-cut circles can work for small quantities, but a purpose-made cutter or correctly sized punch improves speed and presentation. If the artwork is supplied by multiple departments or sponsors, set a standard template early and check every design before production starts.
Quality Checks That Matter in Real Use
When comparing machines, ask for sample badges made with the exact size and backing you intend to use. Examine the edge from all sides. The mylar film should be taut, the printed insert should sit flat, and the backing should remain firmly locked into the shell.
The following faults indicate an issue with setup, component compatibility or press quality:
- A loose or wrinkled clear film around the badge edge.
- Artwork that shifts, creases or leaves an uneven white margin.
- Pin backs that rotate freely or detach from the finished badge.
- A press handle that catches, requires excessive force or fails to complete the crimp.
Test more than one badge. Producing ten consecutive badges is a better indicator than inspecting a single demonstration piece. For a serious volume purchase, test a full pack of components if possible. This shows whether the press maintains alignment as the operator works at a realistic pace.
Production Speed Is More Than Press Cycles
Machine listings often focus on how quickly a press can make a badge. In practice, the total output rate includes printing, trimming, sorting components, loading dies, pressing and checking finished pieces. A manual press may complete the physical crimp quickly, but a disorganised artwork process can still slow an order to a crawl.
For internal production, plan the whole station. Keep shells, film, backs and printed circles in separate labelled trays. Allocate a clean area for completed badges and a separate place for rejects. For larger runs, one person can prepare artwork while another operates the press. This is often more efficient than asking a single operator to do every task.
Allow for waste in both materials and time. Even a good operator may have a small number of rejected badges while settling into a new design or component batch. Ordering a reasonable buffer of shells, films and backs protects the delivery deadline without materially affecting the unit cost.
Assess the True Cost of Ownership
The purchase price is only one part of the decision. Calculate the cost of the machine, dies, compatible consumables, printing, artwork cutting, staff time, storage and expected wastage. If the press will be used only once for an annual fundraiser or occasional staff event, outsourced production may offer better value and less operational risk.
Ownership is more attractive when you need short-run flexibility. A brewery changing taproom promotions, a club creating member badges, or an event organiser adding last-minute sponsor artwork may benefit from being able to produce small batches on site. In these cases, the value lies in response time as well as the per-badge cost.
Maintenance is usually modest for a manual press, but it should not be ignored. Keep die surfaces clean, store the machine in a dry location and follow the manufacturer’s guidance on lubrication and adjustment. A damaged or dirty die can mark badge faces and create avoidable waste.
When Finished Badges Are the Better Option
Buying a machine is not always the most practical route. If your priority is a polished large-volume result by a fixed date, professional supply can remove the burden of artwork setup, component matching, production labour and quality control. This is especially relevant where badges are just one item in a wider merchandise order involving drinkware, printed materials, displays or event collateral.
Finished badge supply also makes sense when branding must match closely across several products. Consistent logo colour, approved artwork versions and coordinated packaging are easier to manage when one supplier is overseeing the production requirements. ABC2000 works with business buyers who need that kind of practical coordination across high-volume branded merchandise.
A Better Buying Decision Starts With Your Volume
Choose a button badge machine based on the work it needs to do, not on the appeal of making badges in-house. Confirm the badge size, expected annual volume, component availability, operator skill level and delivery pressure before comparing prices. A dependable press with compatible consumables can be a useful production tool, but when the deadline is fixed and presentation matters, a finished badge order may be the smarter operational choice.